Even a high-quality e-bike can experience technical difficulties. Learn how to address issues with this electric bike troubleshooting guide.
An electric bicycle is a reliable way of getting around, whether you need to get to work or want to explore the great outdoors on two wheels. However, like a regular bicycle, an e-bike needs occasional maintenance and repairs.
Thankfully, repairing your electric bike isn’t as expensive as you might think. Even if you need to call in the professionals, e-bike repairs are much cheaper than maintenance on a car, truck, or motorcycle.
Plus, that’s assuming you need to take your e-bike into the shop in the first place! A lot of the time, you can check and fix many common e-bike problems on your own. This electric bike troubleshooting guide has you covered. Read on to learn about the most common electric bike issues and general tips for checking your e-bike’s functionality.
Common E-Bike Problems and How to Fix Them
Although electric bikes are sophisticated and reliable machines, every tool needs TLC from time to time.
Fortunately, most of the common issues you’re likely to encounter can be resolved swiftly and at no cost. From a controller malfunction to your battery not charging, some common problems happen in e-bikes regardless of the brand, type, or model. Here are some issues you may experience as an e-bike owner, with a quick DIY troubleshooting guide, so you know how to address each one.
E-Bike Controller Not Working
Your e-bike controller connects the bike’s various electrical components, like the e-bike motor, throttle, pedal assist, battery, sensors, and LCD (if it has one). It’s basically like a small computer and coordinates the bike’s overall function.
Think about it like the brain of your e-bike. If it isn’t working, the e-bike’s brain isn’t working.
Various issues can impact the controller, like faulty wiring and other connections coming loose, the on/off switch not working, or the controller’s fuse or circuit breaker not functioning properly.
Whatever the issue, remember to stay calm. It’s likely a small and simple problem that can be resolved within a few minutes. When in doubt, try restarting your e-bike, just like you would restart a malfucntioning iPhone. If that doesn’t work, we explain some of the most common e-bike troubleshooting solutions below.
How to Check Your Controller
Take these steps to see if the e-bike controller is the issue:
- If the controller isn’t working, start by checking the power switch. Switch it on if it’s not in the “on” position.
- Check for any incorrectly connected, disconnected, or loose wiring. If you see improperly connected wires, you can reconnect them yourself. Most bike wiring is color-coded (so a blue wire matches a blue port or outlet).
- If the controller has a circuit breaker, reset the breaker. You can do this by pushing on it. Be aware that the circuit breaker is meant to protect the system, so if it keeps switching out, there might be a bigger problem requiring the entire system’s replacement.
- If the e-bike has a fuse, check to make sure it’s not burned out. You can remove the fuse and hold it to the light. You should be able to see if it’s burned out. If it is, you’ll need to replace it.
Any issues that involve a feature being broken, such as the fuse or a system malfunction, are highly unlikely if your bike is newer. These issues typically occur after you’ve ridden for many miles on your bike.
However, if you are encountering broken features on a new bike, you may need to seek professional assistance.
E-Bike Throttle Not Working
Some e-bikes have throttle assist and a pedal assist system (PAS). Throttle assist engages the motor even when you aren’t pedaling, powering the bike forward independently.
The throttle is what activates this mechanism. If there’s something wrong with the throttle, the throttle assist function won’t work.
If you’re riding on a Velotric bike, you’ll have a throttle and a PAS at your disposal. Thankfully, this doesn’t require double the maintenance or work compared to bikes with just one or the other.
That being said, having a PAS and a throttle can make it more difficult to detect where the issue lies. Certain problems can arise that involve both parts of the bike, and it’s important to test both to find out which is malfunctioning.
In most cases, the throttle malfunctions because it’s been overused. If you push on the throttle for too long, it can get stuck in position and fail to revert. As a result, the throttle can become damaged or loose over time. You may notice that throttle assist simply cuts out while cycling.
How to Check the Throttle
Follow these steps to troubleshoot the throttle:
- Check the throttle’s position (by the bike’s handlebars). A malfunctioning throttle will generally get stuck in the rearmost position instead of popping back into place.
- Manually pull the throttle back into place. Under power failure, test the throttle by pushing it into the rearmost position and seeing if it pops back into place right away or lags.
- If the throttle doesn’t pop back into place or does so slowly, you’ll need to replace it.
Again, throttle replacement should only be needed if your bike has seen a lot of wear and tear. If you do need a replacement, rest easy knowing that it shouldn’t be prohibitively expensive.
E-Bike Pedal Assist Not Working
The PAS helps power the bike forward while you’re pedaling. Most bikes have different levels of pedal assist, providing different levels of support.
For example, Velotric’s Velotric Nomad 1 and Velotric Discover 1 have five levels of pedal assist. If the pedal assist system isn’t working, you’ve basically got a regular bike.
We love standard bikes, but we chose an electric bike for a reason. We want the additional features and benefits e-bikes have to offer! Thankfully, there are easy fixes for PAS issues, too.
The PAS may malfunction because of power cutoffs or inconsistencies in the power supply. Depending on the type of system, connectivity issues with the bike’s pedal, sprockets, chain paddles, or wheels might be to blame for the intermittent power. An issue with the magnet ring and sensor on the front sprocket can also be the cause.
How to Check Your PAS
Here’s how to figure out what’s causing your PAS problems:
- Check for any loose parts or connections if you’ve recently adjusted the mechanical components on your bike, like the sprockets or chain paddles.
- Look at the magnet ring on the bike’s front sprocket. It should be placed so that the magnet and sensor are aligned.
- If the magnet ring has been jostled out of place or is dirty, it might need adjusting. You can adjust the magnet using a flathead screwdriver, applying gentle pressure to move it closer to the sensor.
- If the above steps don’t work, you should visit a bike shop for professional help. They can identify, remove, and replace faulty parts.
E-Bike Battery Not Charging
If the e-bike controller is comparable to the vehicle’s brain, you could say the battery is like the e-bike’s heart. It keeps the bike’s motor going, allowing the PAS and throttle assist to work.
If the battery isn’t charging, you won’t be able to use your bike’s full functionality. It may not start or keep powering off, for example.
The e-bike battery can fail to charge for various reasons. A fuse might be blown, the battery might be depleted from too-frequent charging, or the battery pack may simply be old or defective.
Another possibility is that the battery’s pins, which serve as the connector to the charging port, aren’t properly placed, so the electric circuit isn’t completed when the battery’s plugged in — meaning it doesn’t charge.
How to Check Your Battery
Try these steps for troubleshooting your e-bike’s electric battery management system:
- Start with the basics and check the battery charger. Plug it into the wall and see if any indicator lights turn on. For example, if the indicator light doesn’t turn on when the charger is plugged into the wall, you may have a defective charger.
- Sometimes, it may not be the charger but the charger port that’s the issue. To check this, unplug the charger and insert the battery into the charger port. Check the indicator light. If it doesn’t turn on, the charger port’s wiring might be faulty and may need replacing.
- Next, check the battery’s voltage. If the LED lights on the e-bike and its control panel don’t light up, the battery may not be charged. You can use a voltmeter to check the battery’s voltage. We go into more detail about how to do that below.
- If the battery charges but fails during use, it might have been overloaded (which also poses a risk of overheating). You can address this by pedaling harder while cycling or lowering your use of pedal assist. Overloaded batteries may also result from a low-quality battery or premature aging (a good battery should have a lifespan of three to five years). If the e-bike battery continuously gets overloaded despite a decreased use of PAS, it may need replacing.
- Look at the battery’s pins. These allow the battery to complete the electric circuit when plugged into the charger. This is how the battery gets power. If the prongs are misaligned, the circuit can’t be completed, and charging won’t occur. You can check if pins are misaligned and realign them using a wrench.
It’s also important to have a backup battery pack on-hand. Sometimes, we forget to charge our batteries before a big ride. Other times, our batteries just aren’t working. While we can troubleshoot our battery issues eventually, having a backup battery charged and ready to go means you can ride now and worry about the rest later.
E-Bike Brakes Not Working
Your e-bike brakes are essential for safe cycling, ensuring you can stop when necessary.
There are different types of e-bike brake systems (we talk about the various types of brakes). The reasons for e-bike brake malfunctions can vary according to the brake system type, so it’s important to know what brakes you have.
Regardless of the type of brake system, e-bike brakes can get worn out with time. Factors like external dirt, debris entering the brake system, and poor brake alignment can worsen the problem. If the brake pads or rotors become damaged or worn down, braking may not be as smooth or sharp.
How to Check Your Brakes
To troubleshoot your e-bike brakes, follow these steps:
- If the brakes suddenly stop working, inspect the brake discs for debris like mud or dirt. Clean off any grime to see if the issue improves.
- Look at the brake pads and rotors, scanning for signs of wear and tear, like scuffs and cracks. They may need replacing.
- Check the brake lever or cable adjuster on the e-bike. If it’s loose, it may need tightening to make the brake more sensitive.
- A related issue might be the brake motor inhibitor. If the bike has been dropped or jostled, the motor inhibitor switch may get stuck in the “on” position. Check if the brake levers are jammed and try to move them. If you can’t, you may need to replace them.
- If you aren’t sure what the issue is, take the e-bike to a professional bike mechanic. They can determine whether you need to replace parts or the entire brake system.
Other E-Bike Tips
The more you know about your e-bike, the better you can care for it — and the longer it will last.
Check your e-bike functionality using the below steps.
How to Check E-Bike Battery Voltage
The e-bike’s battery voltage determines its power. If the battery isn’t meeting its full voltage capacity, it might be old and needs replacing — or, if you’re dealing with a new e-bike, the battery might be defective.
It’s good to identify defects immediately while your bike is still under warranty.
You can check an e-bike battery’s voltage with the help of a voltmeter or multimeter. Start by attaching the prongs of the device to the battery, aligning the positive and negative sides accordingly.
Alternatively, you can secure the voltmeter to the battery’s charger connector.
The voltmeter will show you if the battery drains faster than it should. If it drains too fast, determine when the battery was last charged.
If the battery pack hasn’t been charged for six months or less, it may need a top-up. If the battery pack hasn’t been charged in over six months, it might be defective.
How to Test the E-bike Battery Charger
Sometimes, it’s not the battery that’s the issue but the battery charger. This is an easy issue to troubleshoot.
You don’t even need any tools to get it done. Plug the battery charger into an electric outlet. Ideally, the indicator light will come on and stay on steadily.
However, if there is an issue, the indicator light may not come on or blinks intermittently. This indicates the charger isn’t getting power from the socket as it should.
You can use a voltmeter to double-check. The voltmeter should give a reading a little bit higher than the designated voltage of the charger. If the charger’s reading is below voltage, you’ll need to replace the charger.
How To Diagnose E-Bike Wiring Issues
The various components of your e-bike — like the controller, motor, and battery — are connected with wiring systems. These wires transfer power between these key parts, so if they’re loose, frayed, disconnected, or otherwise faulty, the e-bike might experience mechanical issues.
Consult your e-bike user manual to identify and locate the various wiring systems. For example, the e-bike controller (the “brain” of the bike) is one wired component.
Check for loose or incorrectly placed wires. This is simply because the wires are color-coded: A blue wire fits a blue port, a red wire fits a red port, and so on.
In some cases, loose wiring might be the issue. In others, the wire might be damaged. You can use a voltage tester to check a wire’s integrity, moving it along the length of the wire to determine where voltage is diminished — an indication of damage.
Depending on the issue, you might need to replace the wire. This is a job best left to a professional repair shop. They’ll know what parts to replace and can make sure they’re properly installed.
Experience the Quality and Reliability of a Velotric E-Bike
You can help keep your e-bike in good working order — and hopefully avoid some of the issues described above — with regular maintenance. Our e-bike maintenance checklist covers some of the most important maintenance tasks.
Even with proper maintenance, every e-bike is bound to experience technical issues at some point. Knowing how to handle problems as they happen can make your life as an e-bike owner easier.
Investing in a good quality e-bike can help minimize the risk of needless problems. Velotric has tried-and-tested electric bicycles to suit every need.
Velotric’s Velotric Discover 1 bike has a 500/900 W rated/peak rear hub motor and a range of up to 65 miles. The 48V 14.4Ah battery is certified by Underwriters Laboratories (UL2271), a global safety standards organization, and charges fully in just six hours.
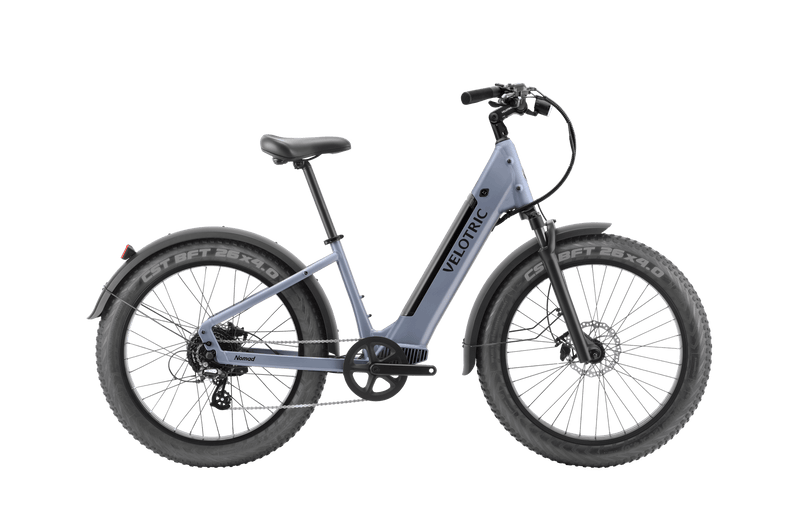
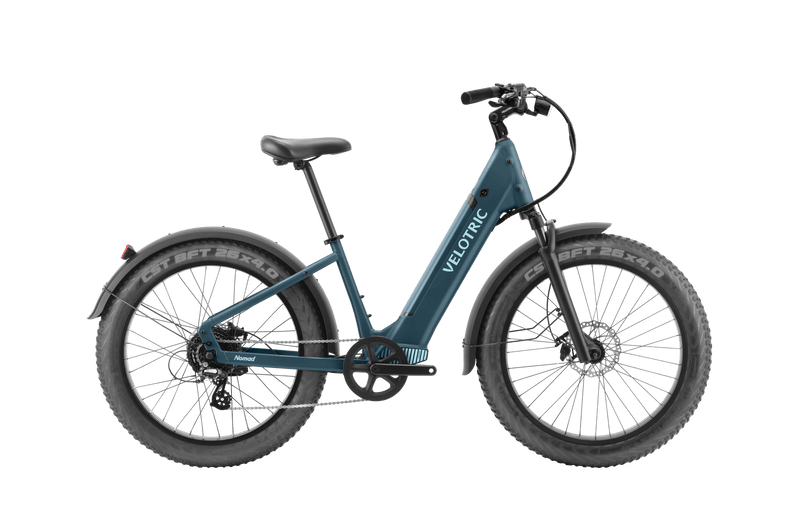
For a more rugged ride, try the Velotric Nomad 1 bike. It has fat front and rear wheels, giving you greater stability on unpaved surfaces. The Velotric Nomad 1 has a 750/1,200 W rated/peak motor and a range of up to 55 miles (slightly less because the bike is heavier).
For either bike, you can choose a frame that fits your size and needs. The high-step model is best for cyclists 5’6” to 6’9”, while the step-through model fits cyclists 5’1” to 6’4”. Learn more about the different types of bike frames.
Whichever bike you choose, you can be sure you’re getting a quality product. Our bike frames have been rigorously tested more than 150,000 times, ensuring your safety and comfort.
Sources
The Health Benefits of Electric Bikes | PeopleForBikes
Why e-bikes are fast becoming the green transport of choice | TechHQ
Why Restarting Your Smartphone Fixes (Most) Problems | Make Use Of


